Nombu Kanji / Nonbu Kanji is a porridge made during the ramadan season to break the fast in the evening.
This recipe is from my good friend Thahira. Thahira’s father was a Quran scholar in Vridhachalam, Tamilnadu. Their house was inside the Town Juma Palli Vaasal (Masjid) compound. Thahira remembers the Ramadan season very vividly. As their house was inside the masjid compound, she has seen the making of Nombu Kanji / Nonbu Kanji countless number of times. Nombu Kanji was made in huge vessels and stirred continuously by masjid men. This is the same recipe she makes it even today and this is what she had to say about the making of the Nombu Kanji. “We prefer our Kanji to be very light. We do not add too much spices as it can irritate the stomach after the long fast and can make one feel very thirsty afterwords. This recipe is very soothing to the tummy. Fenugreek seeds (vendhayam) is an important ingredient in the kanji. We never make kanji without vendhayam (fenugreek). It helps to keep the body cool as fenugreek has cooling properties. This is a plain kanji. Sometimes, we also add little drumstick leaves to make it a little more rich and nourishing.”
Drumstick leaves is a nutrient dense food. Drumstick leaves is an iron-rich food source (31% Daily Value per 100 g consumed). She says during the ramadan season, the rice is sold as grits “noi arisi” or “arisi kurunai” in shops. If one cant find the rice grits or lives abroad, it can be made easily at home in bulk and can be stored and used. I have shared the recipe for making rice grits below. Let this Ramadan season bring in lots of love to everyone.
Here is the recipe for authentic Palli Vaasal Nombu Kanji.
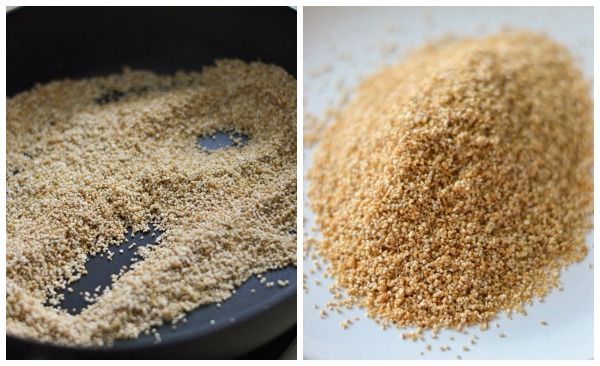
First, lets make rice grits. You can make it in larger quantity if you want and store it and use it for the entire season. Take raw rice and wash it in water for 3-4 times. Soak the raw rice in water for 10 minutes. After soaking, drain the water completely and dry the rice on a cloth for 15 minutes.

Once the rice is dried and has very little moisture left, pulse it in a mixie one or two times so that each grain of rice gets broken into 2-3 pieces. Set aside.

Here is how to make the porridge.
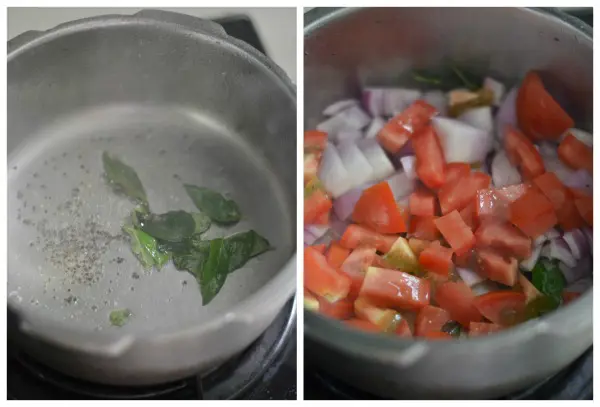
Heat oil in a pan and add in one clove and a small half inch piece of cinnamon. Do not add in too many spices. Add in the fenugreek seeds (vendhayam) and the yellow moong dal (paasi paruppu ) and fry on a low flame for 3-4 minutes until its roasted well and very fragrant.

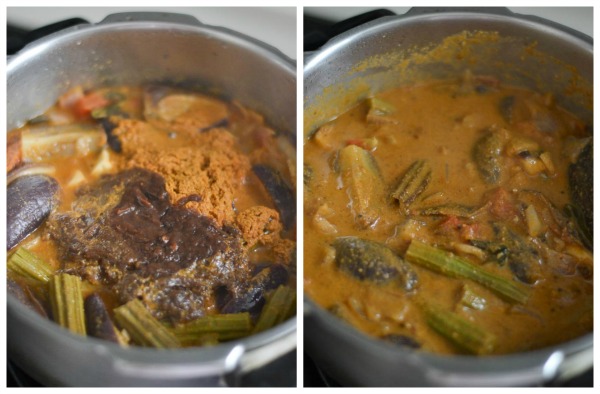
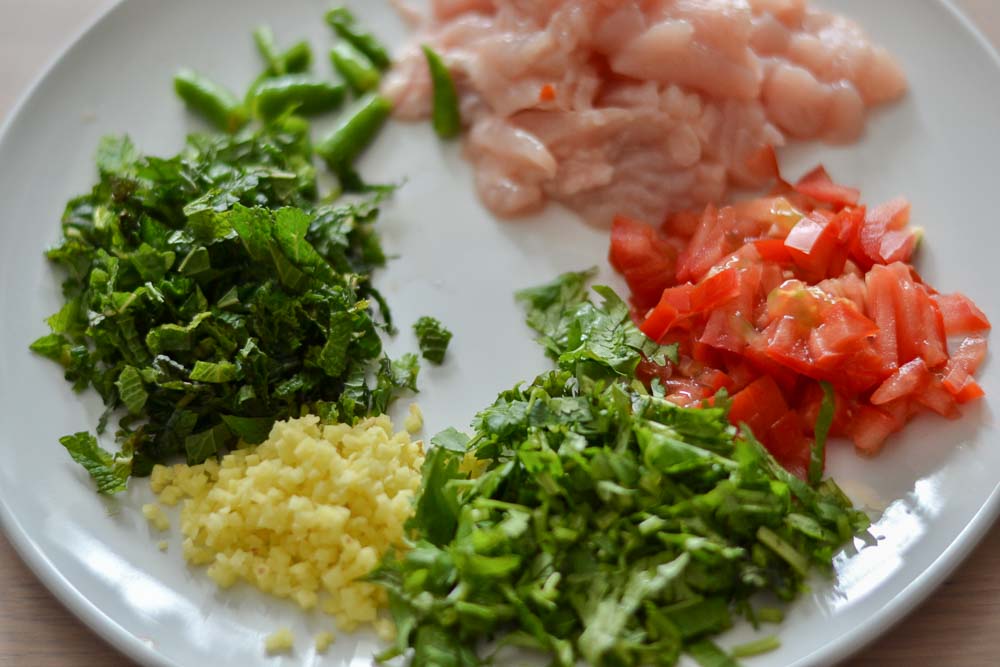
Add in the onion, tomato, ginger garlic paste and green chillies. Add in the rice grits and water. Cover the pressure pan and cook for 4 whistles. Switch off the flame and wait for the pressure from the cooker to release naturally.

Open the cooker and add in the fresh shredded coconut, finely chopped coriander leaves and the salt. Mix well to combine. Note on salt: Thahira remembers very well that the salt was always added at the last. Salt hinders with the cooking of dal and rice to a very mashy consistency. So always add the salt at the end. Also too much salt can make one thirsty and interfere with the Ramadan fasting. So go easy on the salt if you are fasting.

Nombu Kanji is ready!

If Thahira was here, she would have said Bismillah! before serving the Kanji!
Bismillah (Arabic: “In the name of God” or “In the name of Allah”) is the first word in the Quran. Holy Quran’s opening phrase in Arabic, bismillāhi r-raḥmāni r-raḥīm (“In the name of God, the Most Gracious, the most Merciful”).

- 1 teaspoon vegetable oil
- 1 clove
- ½ inch piece cinnamon
- ¾ teaspoon fenugreek seeds
- ¼ cup yellow moong dal
- ½ of a medium onion, chopped fine
- ½ of a ripe tomato, chopped fine
- ½ teaspoon ginger garlic paste
- 1 green chilli, chopped
- ½ cup rice grits -kurunai arisi - recipe given above.
- 3½ cups water
- 2 tablespoon fresh shredded coconut
- ½ teaspoon salt
- 2 sprigs coriander leaves, finely chopped
- Heat oil in a pan and add in one clove and a small half inch piece of cinnamon. Add in the fenugreek seeds (vendhayam) and the yellow moong dal (paasi paruppu ) and fry on a low flame for 3-4 minutes until its roasted well and very fragrant.
- Add in the onion, tomato, ginger garlic paste and green chillies. Add in the rice grits and water. Cover the pan and cook for 4 whistles. Switch off the flame and wait for the pressure from the cooker to release naturally.
- Open the cooker and add in the fresh shredded coconut, coriander leaves and the salt. Mix well to combine.
The post Ramzan Nombu Kanji – Authentic Palli Vaasal Nombu Kanji – Veg Recipe appeared first on Kannamma Cooks.


 A Note on bottling.
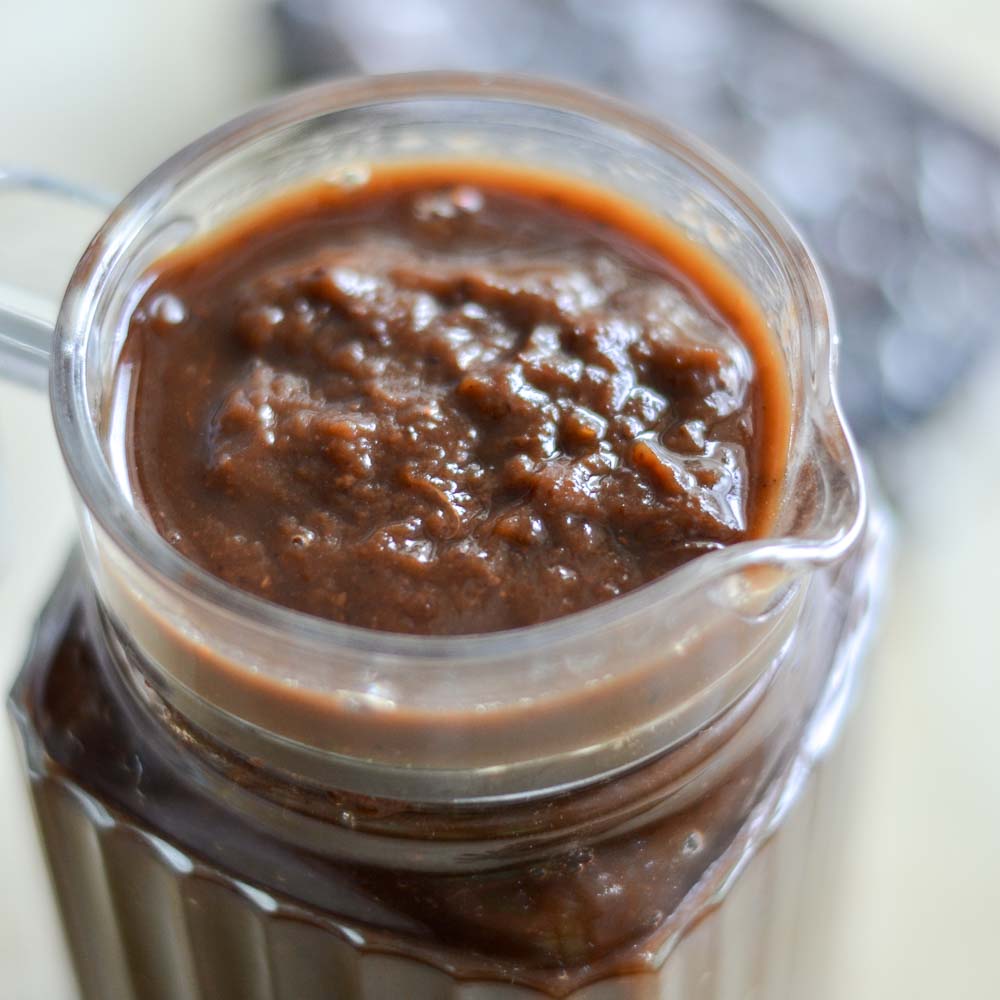


 NOTE: This is not a beginners recipe
 Do not add water at the beginning while grinding. Pulse the mixie several times until the mixture is kind of pasty. Add couple of tablespoons of water at a time and grind the batter to a paste. Add water only when absolutely necessary. Let the paste be very slightly coarse. The batter should be thick. So use caution and add very little water while grinding. The batter will slightly firm up after an hour of resting.
 Now, what to do if the batter goes wet?